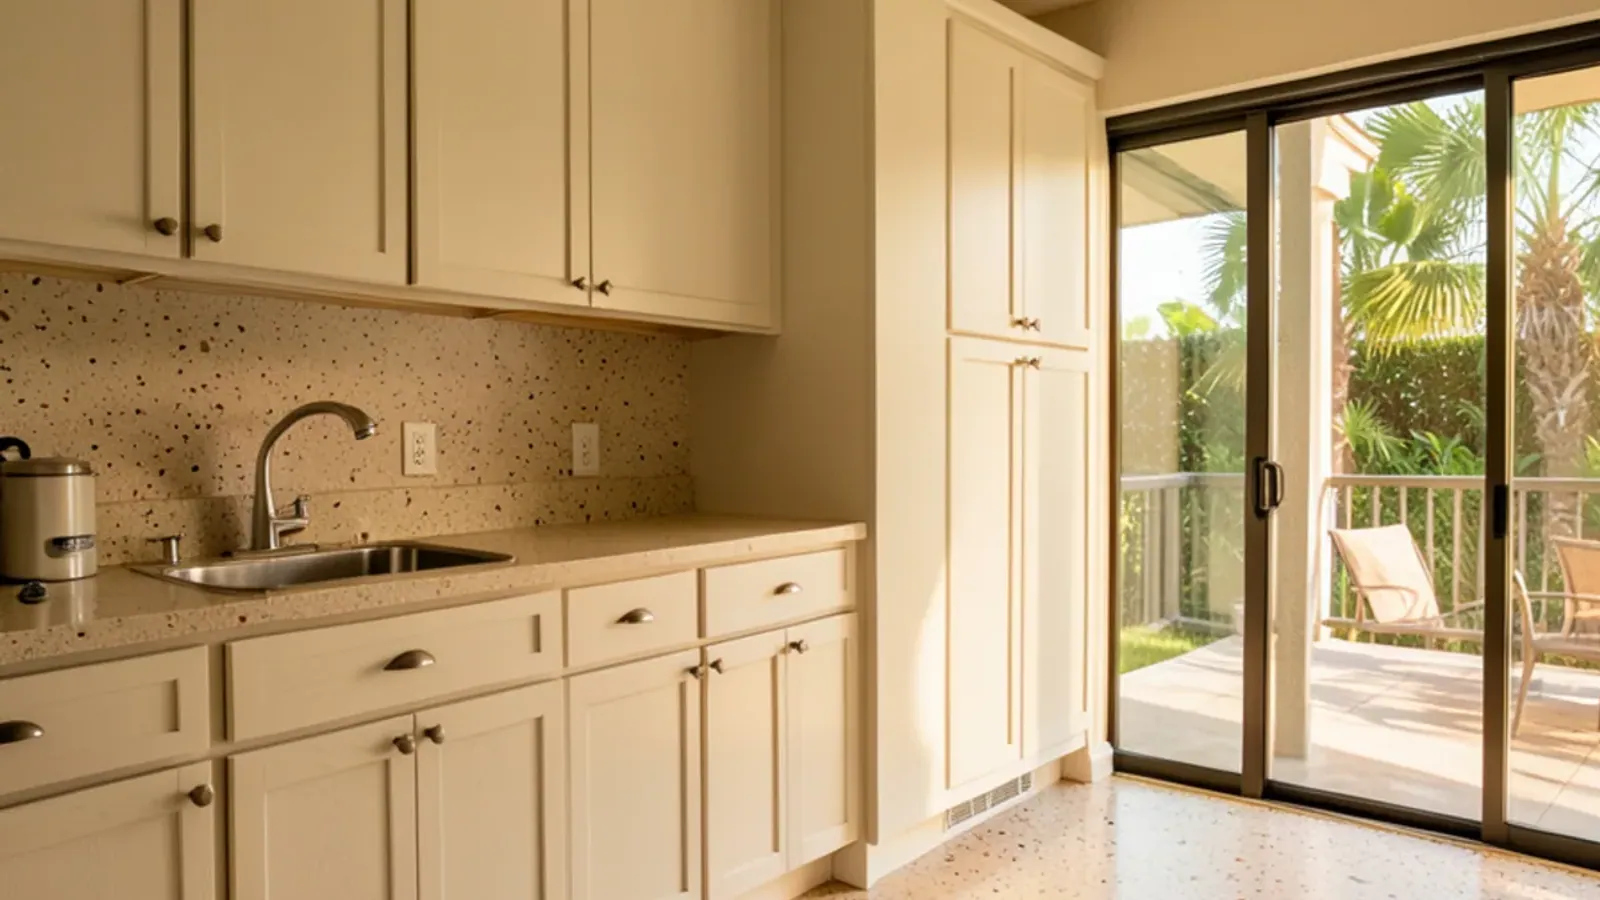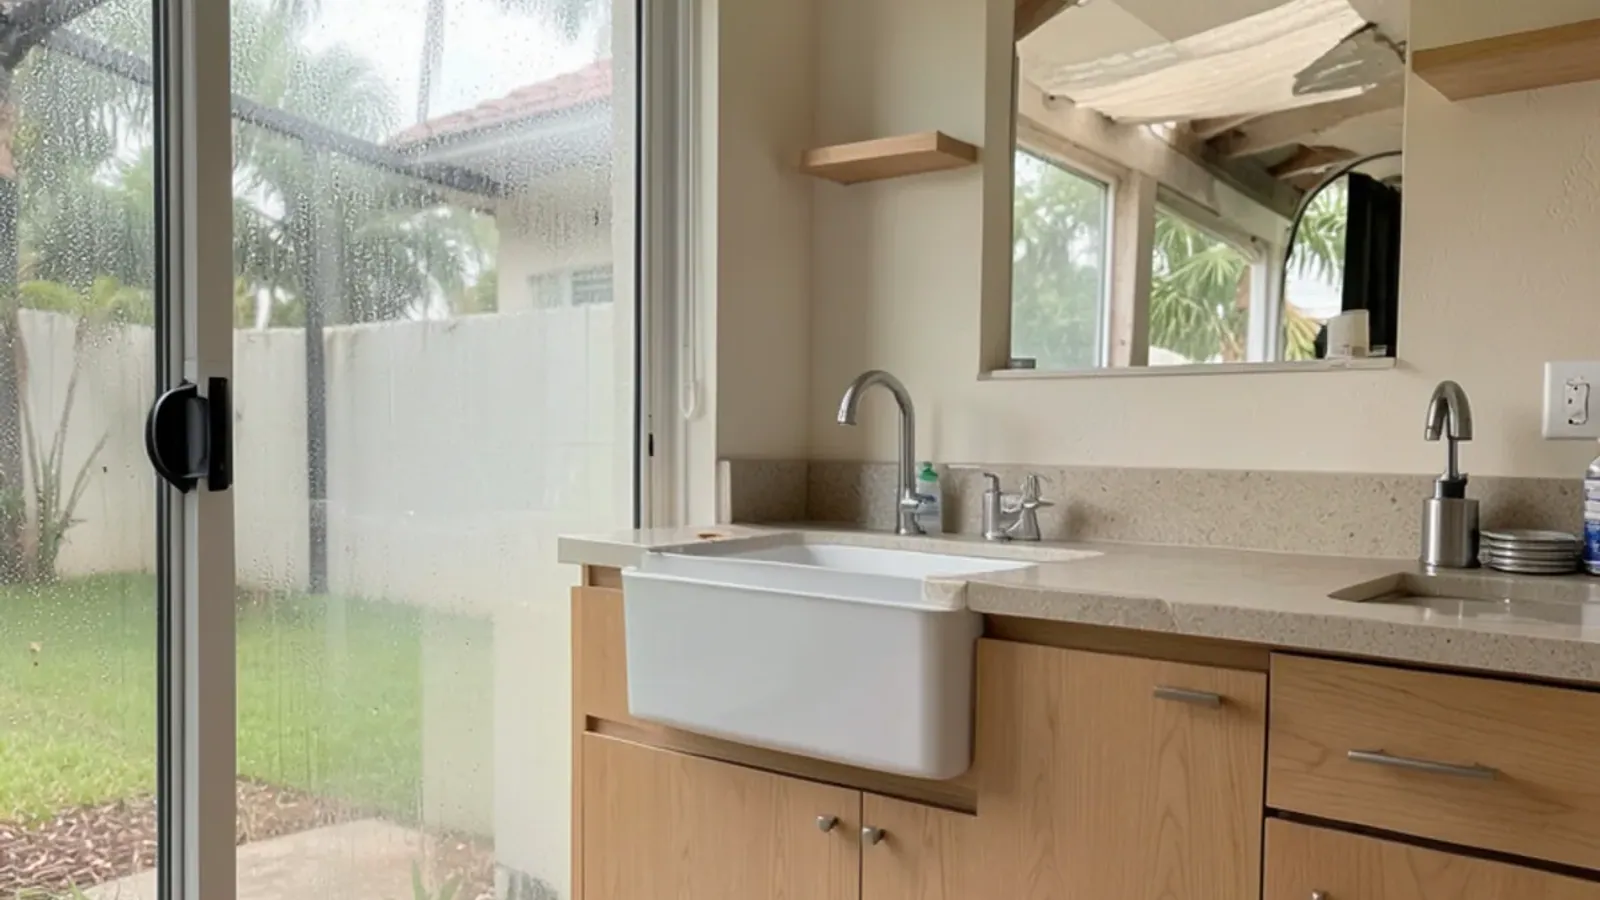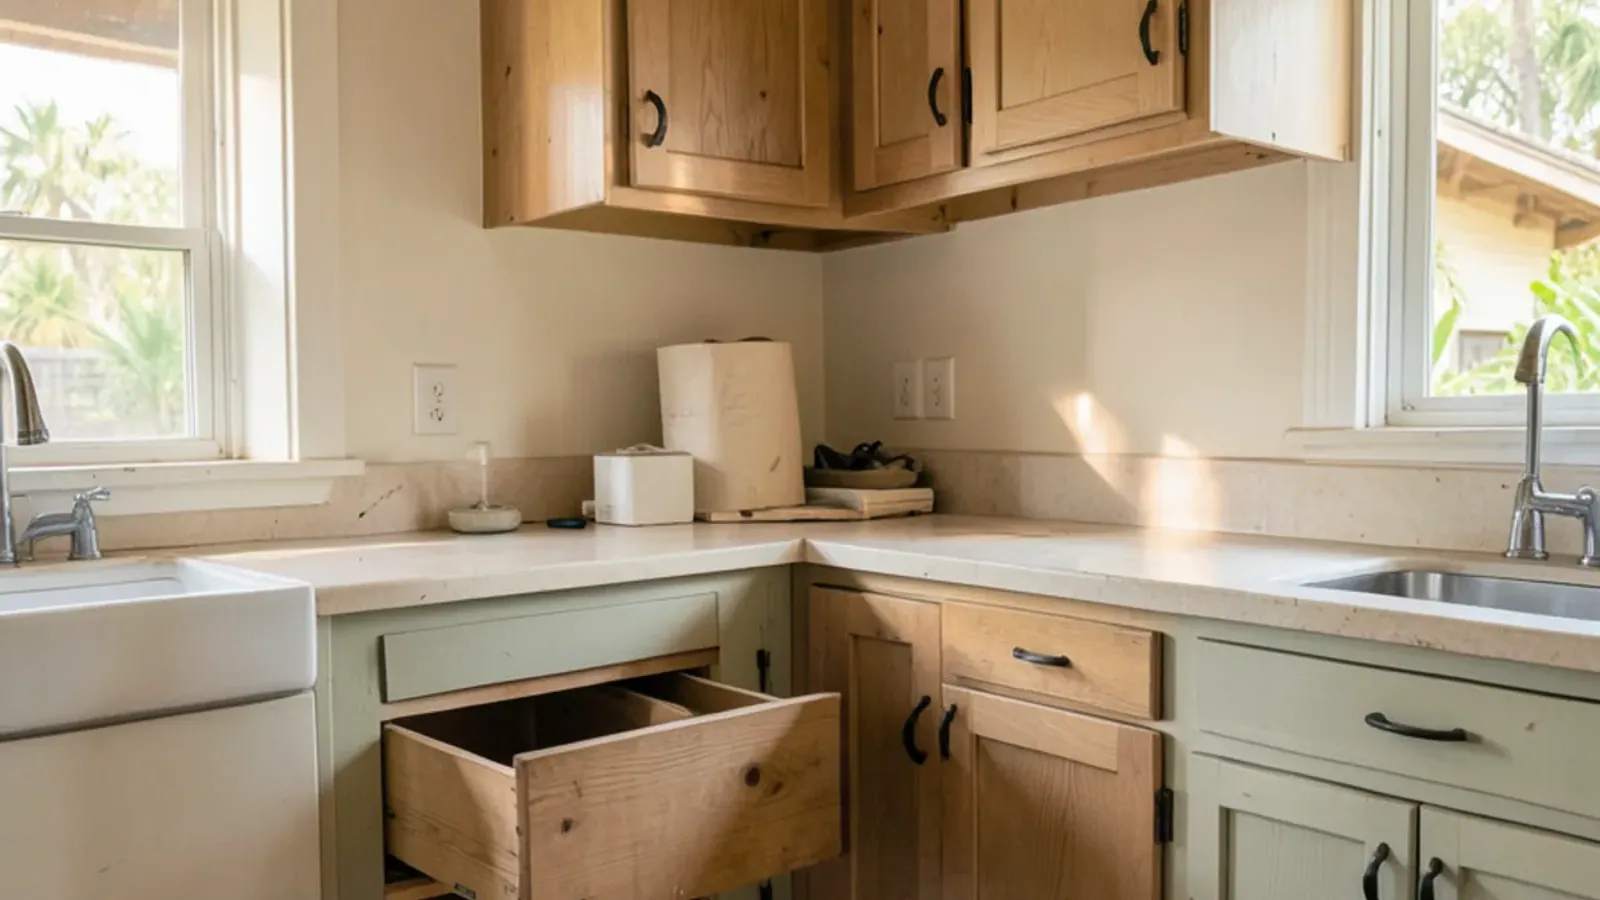
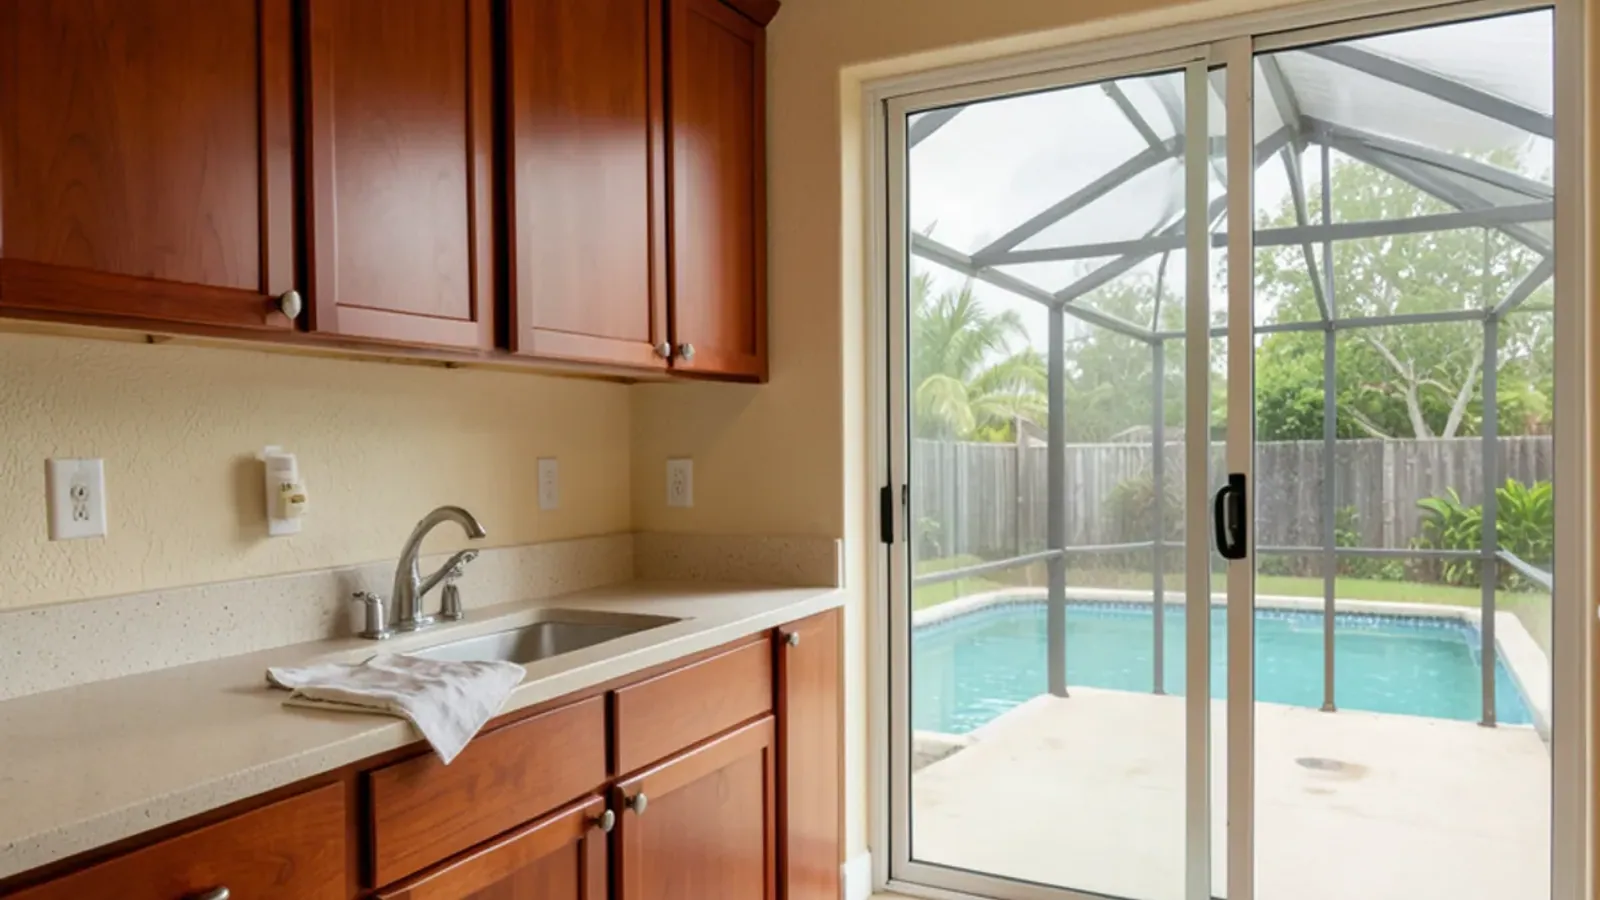
Good wood cabinet care in Florida rests on three habits: wipe moisture and grease off the finish before it sits, keep indoor humidity steady all year, and repair small nicks before water can get underneath them. You do not need special products for any of it, and well-built hardwood cabinets cared for this way can look right for decades.
What follows is the routine we suggest to homeowners after an installation, organized by task: cleaning, steam, humidity, sunlight and touch-ups, with a simple calendar you can follow.
A gentle cleaning routine
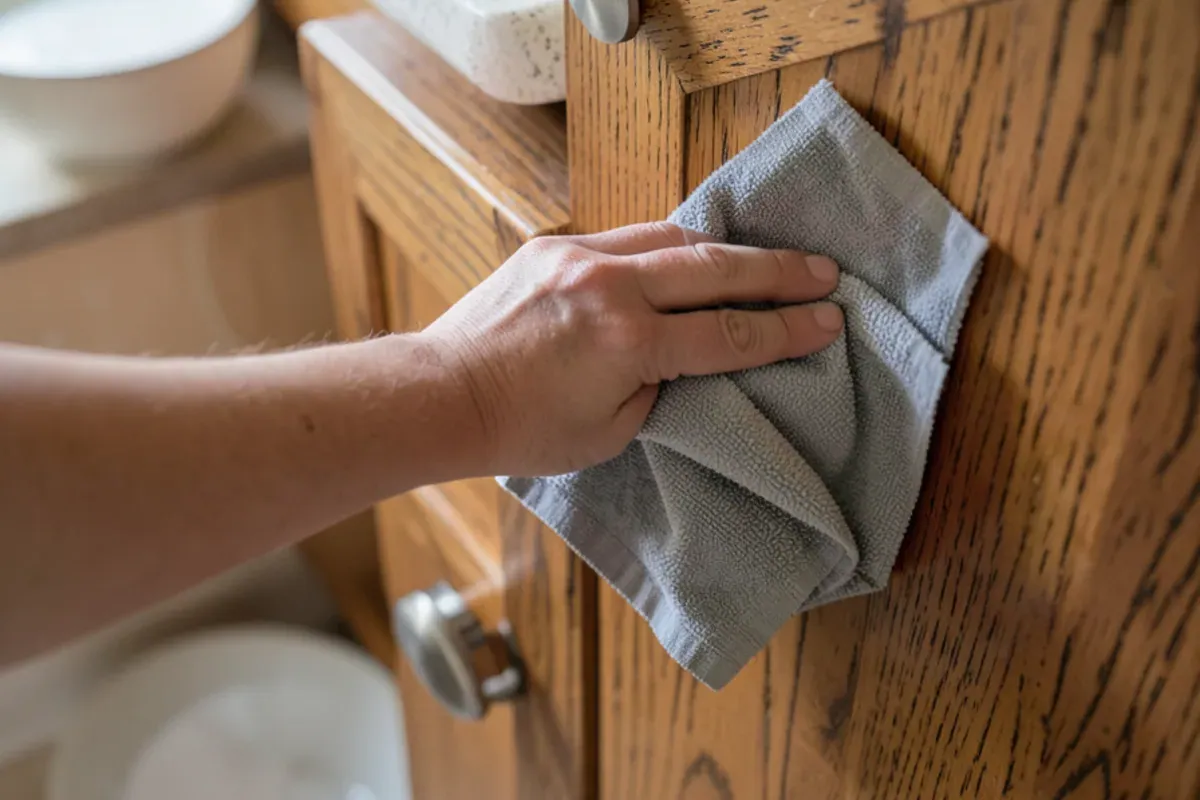
Most kitchen grime is a thin film of cooking grease that collects dust. For weekly cleaning, wring a soft microfiber cloth nearly dry in warm water with a few drops of mild dish soap, wipe with the grain, then follow with a dry cloth. Pay extra attention to the areas around pulls, the doors beside the range and the fronts of the sink base.
Just as important is what to leave under the sink:
- Ammonia-based glass cleaners and all-purpose sprays, which can dull or soften some finishes
- Abrasive pads, scouring powders and the green side of a sponge
- Bleach and strong degreasers, except where a finish maker specifically approves them
- Silicone furniture polishes, which leave residue that complicates any future refinishing
- Dripping wet rags and steam mops pushed against toe kicks and cabinet bases
How do you keep dishwasher steam off cabinet doors?
The dishwasher is the hardest-working moisture source in most Florida kitchens. When the door opens at the end of a cycle, a cloud of hot vapor rolls straight up the faces of the adjoining drawers and the underside of the counter. Repeated daily, that softens finish edges and opens the glue line on any edge banding nearby.
Wait until the cycle has finished and cooled before opening the door, and resist cracking it open mid-cycle to speed up drying. Check that the moisture shield on the underside of the countertop, often supplied with the dishwasher, was installed. Do not drape damp dish towels over cabinet doors either; it keeps the same spot wet for hours.
Countertop appliances are the other culprits. Pull kettles, coffee makers, rice cookers and pressure cookers forward so they vent into open air instead of into the bottom of an upper cabinet.
Humidity, air conditioning and the seasonal home
Wood takes on and gives off moisture with the air around it. The USDA Wood Handbook points out that finishes cannot change the moisture level wood eventually reaches; they only slow the exchange. So the finish buys time, but the room sets the target. For the room, EPA guidance sets a ceiling of 60 percent relative humidity indoors and calls 30 to 50 percent the ideal band.
In practice that means letting the air conditioning run through the summer, using the range hood when you boil water, and running bath fans long enough to clear steam. Owners who leave for the season should keep the system on rather than shutting the house up, since a closed house in August is hard on wood, finishes and hardware alike.
| Task | How often | Why it matters |
|---|---|---|
| Wipe fronts with mild soap solution, then dry | Weekly | Removes grease film before it builds up |
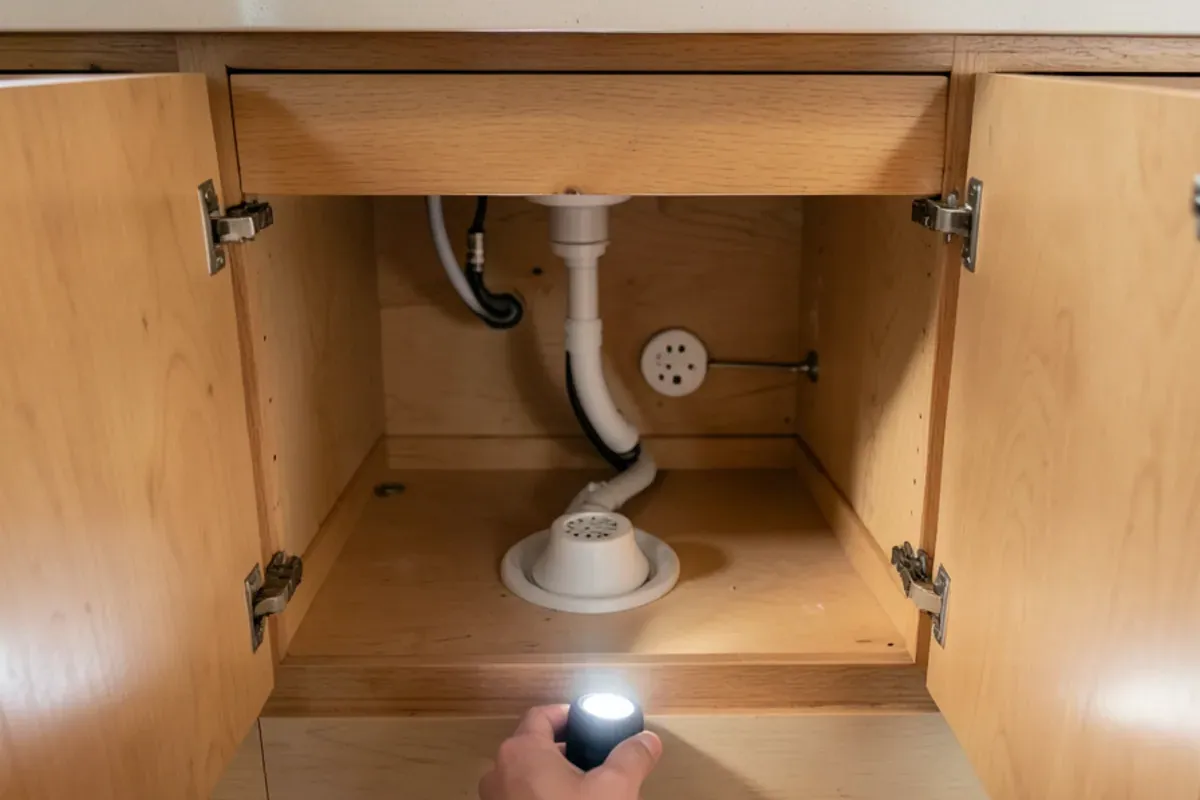
| Check sink base for drips or damp spots | Monthly | Catches slow leaks early |
| Read a hygrometer in the kitchen | Monthly, more often in summer | Confirms humidity stays in the EPA range |
| Inspect finish near dishwasher, sink and range | Every few months | Finds worn spots before water gets under them |
| Tighten loose pulls and hinge screws | Twice a year | Prevents stripped holes and sagging doors |
| Clean and lightly lubricate drawer slides | Once a year | Keeps drawers running smoothly |
Sunlight and color change
Wood changes color in daylight whether it is finished or not. The Wood Handbook explains that this is largely caused by visible light, and that dark woods tend to lighten while light woods tend to darken; cherry is known for darkening noticeably. Kitchens with west-facing sliders or a bright lanai see the change sooner.
Treat it as aging rather than damage. Move canisters and appliances now and then so you do not end up with sharp shadow outlines, and consider window film or shades on the sunniest glass.
A clear UV-blocking film helps less than people expect. The handbook notes that ordinary window glass already blocks most ultraviolet radiation, so visible light drives most indoor color change, and UV stabilizers in a finish do not necessarily prevent it. Shades or blinds drawn through the brightest hours do more for the wood than any film that leaves the room just as bright.
New cabinets change fastest. According to the same chapter, most color change on newly exposed wood happens over the first two to three months, depending on light intensity, and a shadowed patch usually evens out within several months once it is uncovered, though cherry takes exceptionally long. In the first season, avoid leaving towels draped over the same door, notes taped to an end panel or a fruit bowl parked in one spot on a wood island top.
Which finish touch-ups can you do yourself?
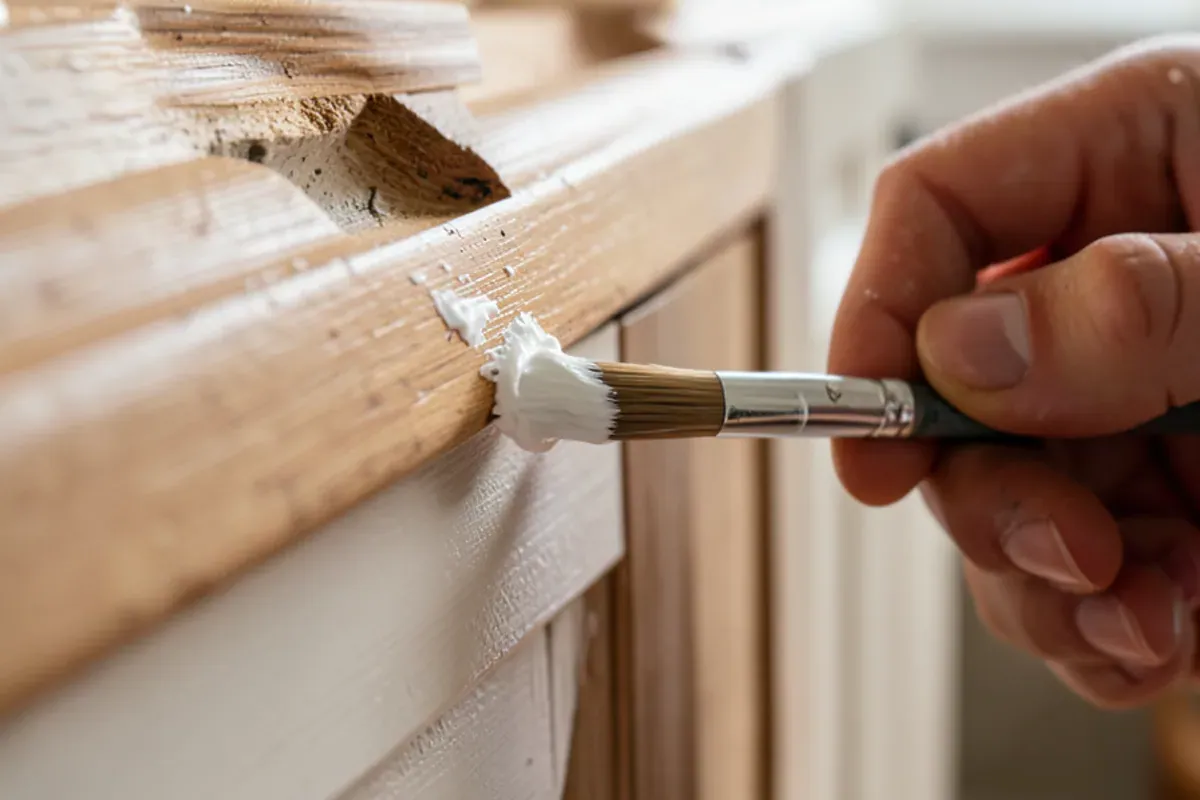
Small nicks on stained wood can be hidden with a touch-up marker or a wax fill stick matched to the color, buffed flush with a soft cloth. On painted cabinets, dab leftover paint into a chip with a fine artist's brush, building thin layers rather than one blob. Light surface scuffs often disappear with a gentle wipe and a dry cloth.
Bring in help when the finish is worn through to bare wood along a door edge, when a white haze or raised grain appears near the sink, or when the damage covers a whole panel. Our cabinet repair work includes refinishing individual doors and blending them to their neighbors.
Do drywood termites go after kitchen cabinets?
They can, and Florida is their home ground. UF/IFAS Extension’s guide to drywood and dampwood termites explains that drywood termites live inside the wood they eat rather than traveling from the soil, and that they most commonly infest dry, sound wood in older homes, including doors, window sills, flooring and furniture. Cabinetry is the same kind of wood. Add these signs to your seasonal check:
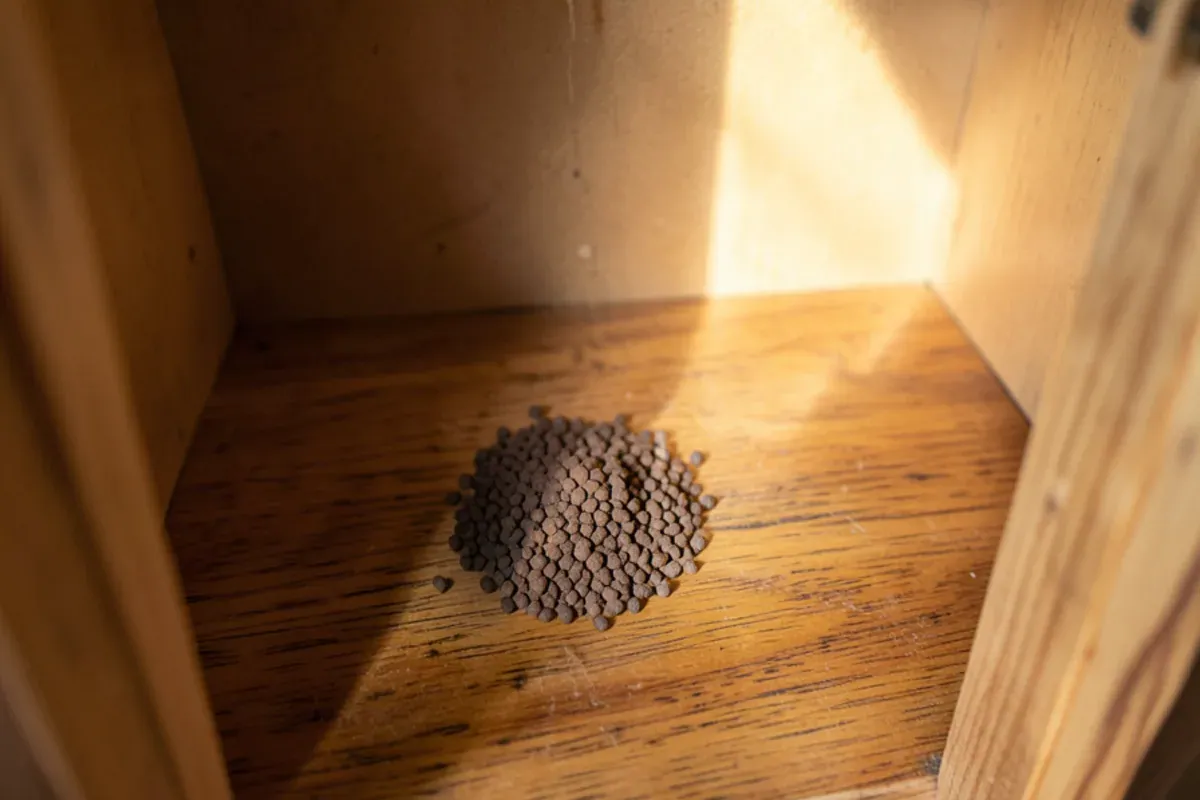
- Small piles of gritty, six-sided pellets, light brown to almost black, that look like sawdust or coffee grounds on a shelf or the floor of a cabinet
- Pencil-tip kick-out holes, 1 to 2 millimeters across, in a face frame, toe kick or back panel
- Blistered or rippled patches in the wood surface, which the guide treats as a sign of an advanced infestation
Sweep up any pellets and look again a week later. If fresh piles appear, call a pest control company to confirm the species and handle treatment before any wood is repaired. The guide also recommends inspecting used lumber and secondhand furniture before it comes indoors, a sensible habit before a flea-market hutch joins the kitchen, and it notes that a good coat of paint on exposed wood gives some protection. Once the colony is dealt with, damaged frames, kicks and doors can be rebuilt to match.
Wood cabinet care in Florida starts with the build
Care routines work best on cabinets made to live in this climate. Cabinets with hardwood boxes, dovetailed drawers and face frames joined by mortise and tenon forgive the occasional missed spill far better than particleboard. Homeowners in Sarasota and Bradenton can see how our custom cabinetry is designed and built, and our article on why budget cabinets swell in Florida's damp air shows what goes wrong when the materials are wrong.
The bottom line
Wood cabinets ask for very little: a damp cloth, a dry one, steady air and a quick fix when the finish is nicked. Do those things and the cabinets will age the way good furniture does. If a door near the sink is looking tired or you have questions about caring for a particular finish, ring the shop, or leave your question on our contact page.