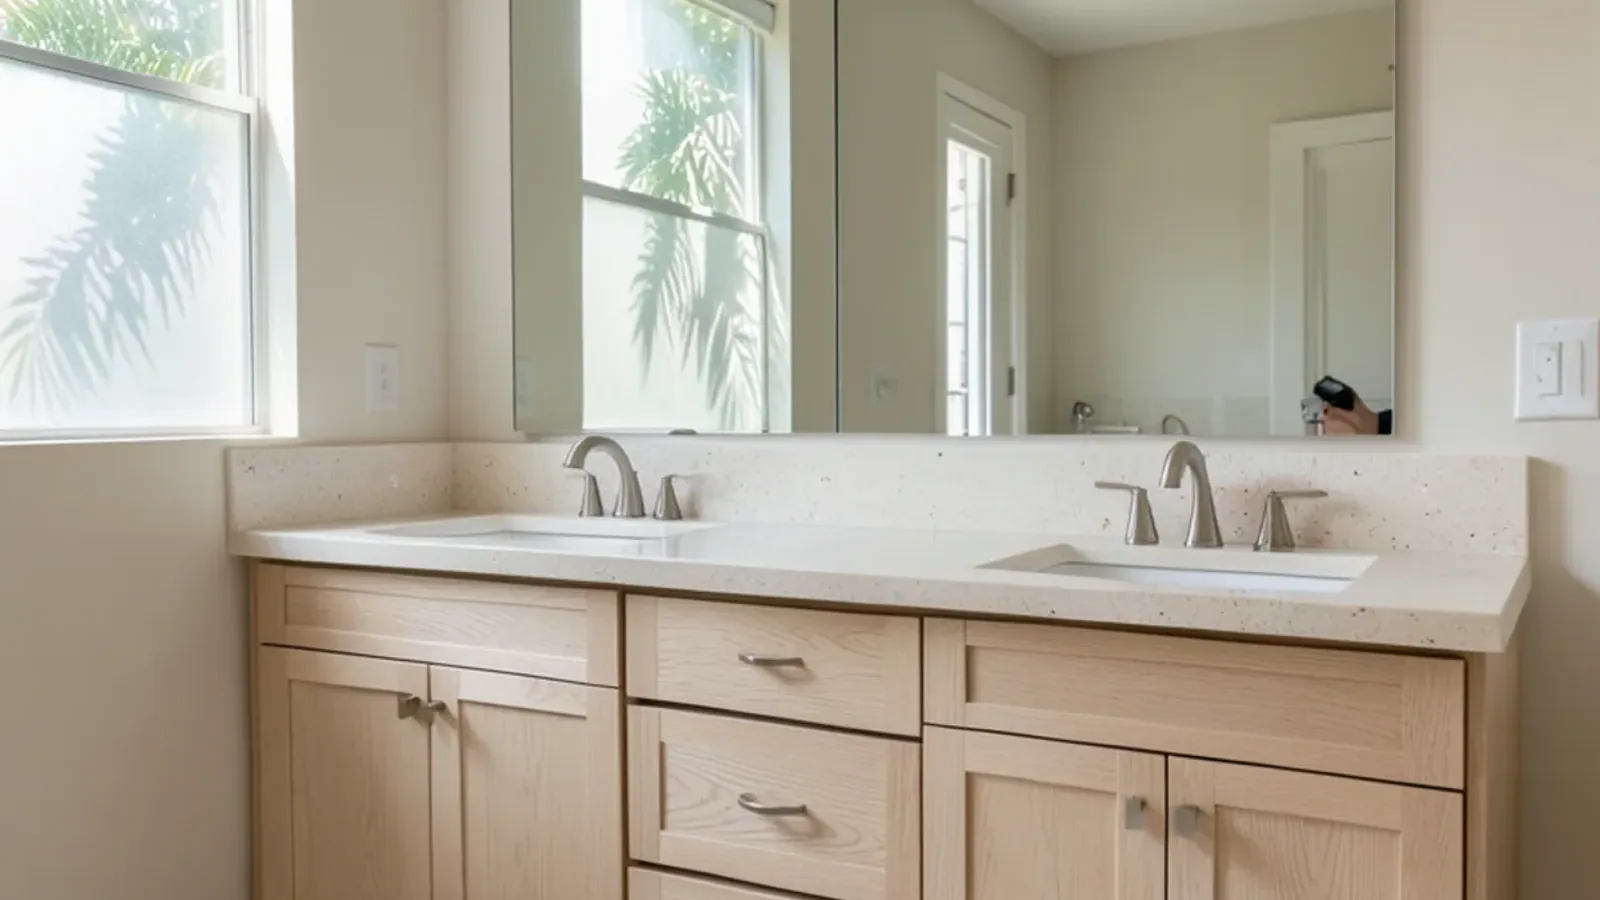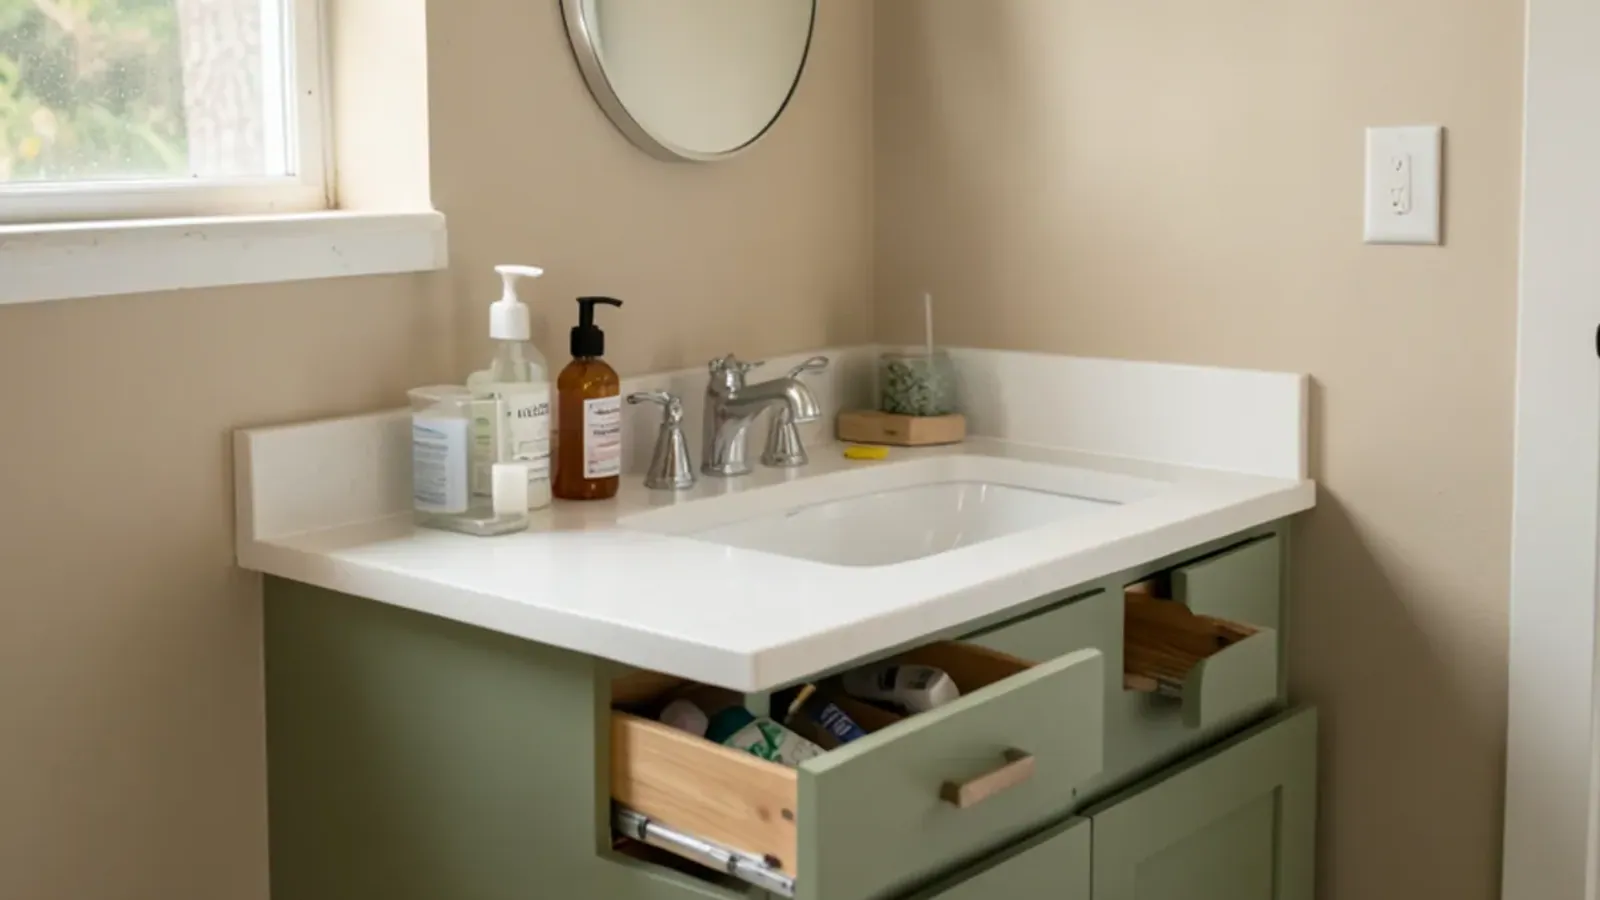

To protect a bathroom vanity from water, attack the three ways moisture arrives: steam that settles on every surface after a shower, splashes that creep under the top and backsplash, and slow leaks inside the sink cabinet. The fixes are a working fan, sealed joints and a monthly look under the sink.
An exhaust fan sized for the room, intact caulk and sealed stone, and a quick look under the sink once a month handle almost all of it. None of it is complicated, and it pays off. A solid-wood vanity with a good finish can last decades in a humid Florida bathroom, while the same vanity with a failed caulk line or a dripping supply valve can be damaged in a single season. This guide walks through each defense in order.
Where does water get into a vanity?
When we pull a damaged vanity, the evidence almost always points to one of a few entry points:
- The joint between the countertop and the backsplash, where caulk has cracked and water wicks behind.
- The faucet base, where a worn gasket lets splash water run down through the deck hole.
- The bottom edges of doors and the toe kick, splashed when the floor is mopped or a shower curtain drips.
- Supply valves and compression nuts that weep slowly, unnoticed behind stored bottles.
- The drain connection and P-trap, especially after someone has worked on the sink.
- Condensation on cold water lines during humid summer months.
Steam is the background stress on all of these. Every shower raises the room's humidity, and any surface that stays damp for hours is where finish breaks down and wood begins to move.
Is your exhaust fan big enough?
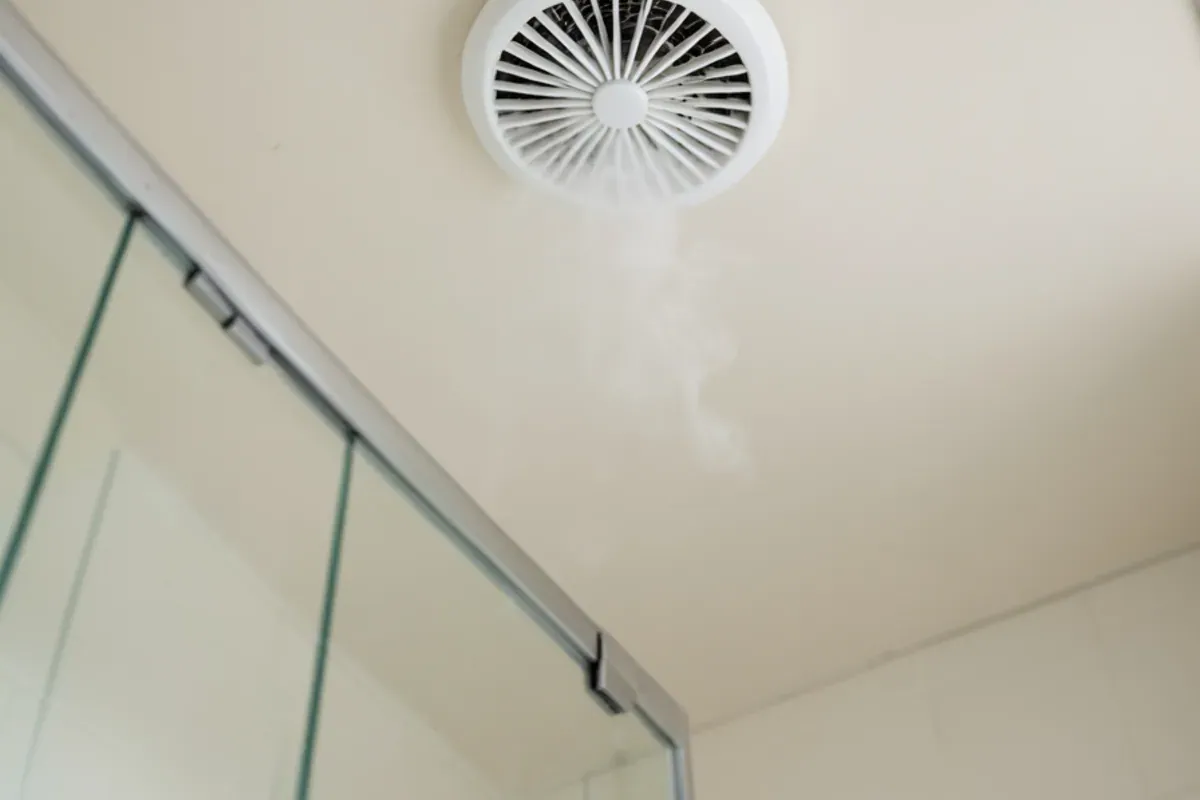
Many Florida bathrooms have a fan that hums without moving much air. The Home Ventilating Institute's consumer guide to bathroom exhaust fans suggests ventilation based on about eight air changes per hour, which works out to roughly 1 cubic foot per minute (CFM) per square foot of floor in most bathrooms. Its guidance for sizing:
| Bathroom size | HVI recommendation |
|---|---|
| 50 sq ft or smaller | At least 50 CFM |
| 50 to 100 sq ft | 1 CFM per square foot of floor |
| Over 100 sq ft | Add up fixtures: 50 CFM each for toilet, shower and tub; 100 CFM for a jetted tub |
HVI describes these as minimums. A 7-by-10-foot bathroom therefore wants a fan of at least 70 CFM. Long or kinked duct runs reduce real airflow, so a fan that seems to underperform may need its ducting checked by a licensed electrician or HVAC contractor rather than a bigger motor.
Use the fan every time. The EPA recommends running the bathroom fan or opening a window while showering, and it suggests holding indoor relative humidity under 60 percent, preferably somewhere from 30 to 50. A fan on a timer or humidity sensor keeps running after you leave, which is when it does most of its work.
What does the Florida code say about bathroom exhaust?
HVI's figures are a recommendation; the building code sets a floor beneath them. Section R303.3 of the Florida Building Code, Residential, requires a bathroom to have at least 3 square feet of window glass, half of it openable, unless the room has artificial light and a local exhaust system instead. Table M1507.4 sets that exhaust at 50 CFM for a fan that runs when switched on, or 20 CFM for one that runs continuously.
Where the air goes matters as much as how much moves. Section M1501.1 says exhaust air must be discharged outdoors and may not be dumped into an attic, soffit, ridge vent or crawl space. Older Florida houses sometimes have a fan that simply blows into the attic or ends at a soffit, which moves the moisture without getting rid of it.
- Check the fan's rated CFM on its label, visible once the grille is pulled down.
- Hold a single square of tissue to the grille with the fan running; if it does not cling, airflow is weak.
- Look in the attic, or ask whoever services the roof, where the duct ends: a roof cap or wall hood is right, open attic air is not.
- Hire a licensed electrician for a new fan, timer or humidity control, and leave duct and roof penetrations to the licensed trades who handle them.
A window alone meets the code but rarely clears a Florida bathroom in August, when the air outside is often more humid than the air inside. That is one more reason a properly ducted fan does the heavy lifting for a vanity.
Sealing the top, backsplash and caulk lines
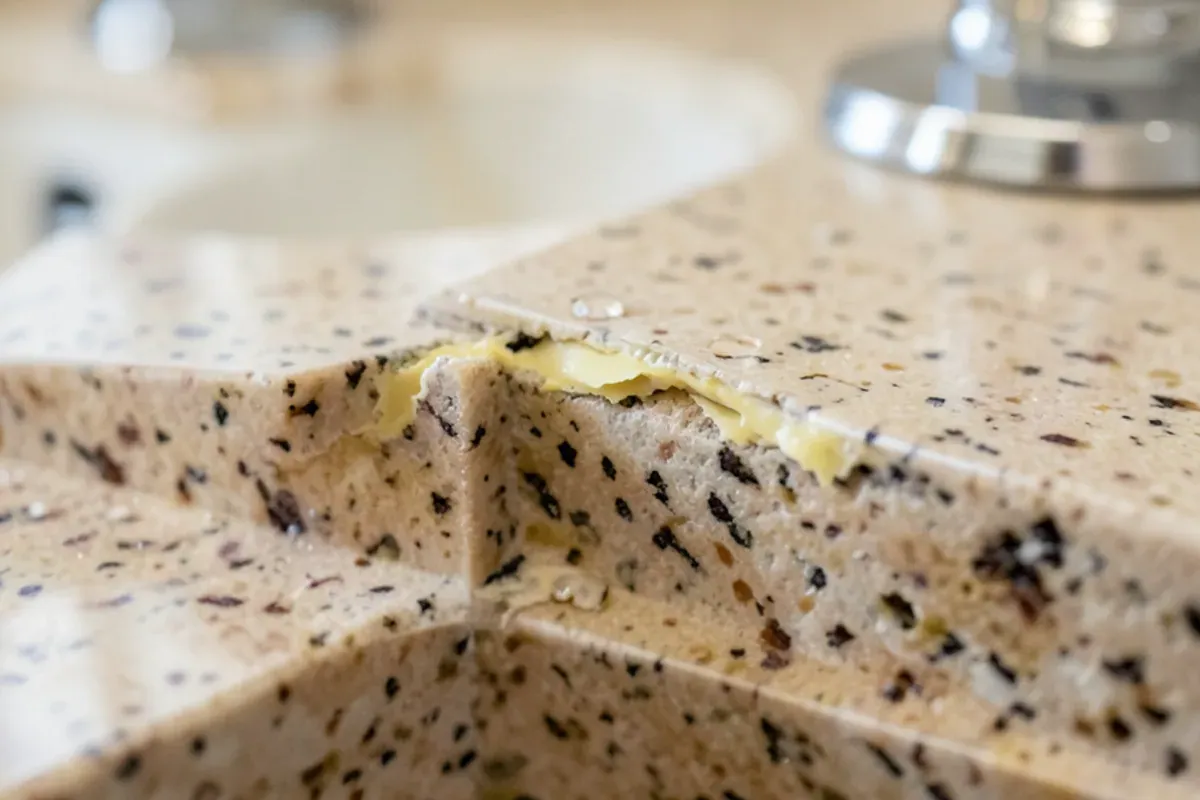
Water that gets under a countertop sits against the top edge of the vanity, where you cannot see or dry it. Sealing the surface is cheap insurance.
Inspect the caulk
Run a fingernail along the joint between top and backsplash, and between top and wall. Cracks, gaps or dark spots mean it is time to redo it.
Remove old caulk fully
Cut it out with a plastic scraper and clean the joint with rubbing alcohol. New caulk over old peels quickly.
Apply a mildew-resistant sealant
Use a bathroom-grade silicone, tool it into a smooth concave bead, and let it cure for the time on the tube before using the sink.
Check stone sealer
If water no longer beads on a granite or marble top, reseal it according to the fabricator's instructions. Quartz does not need sealing.
Snug the faucet base
Look for a gap or rocking at the faucet. A loose faucet lets splash water down into the cabinet.
What belongs in a monthly under-sink check?
Five minutes, once a month, catches the leaks that do the real damage. Clear the cabinet floor first, then:
- Run hot and cold water for a minute with the stopper open, then fill and drain the basin.
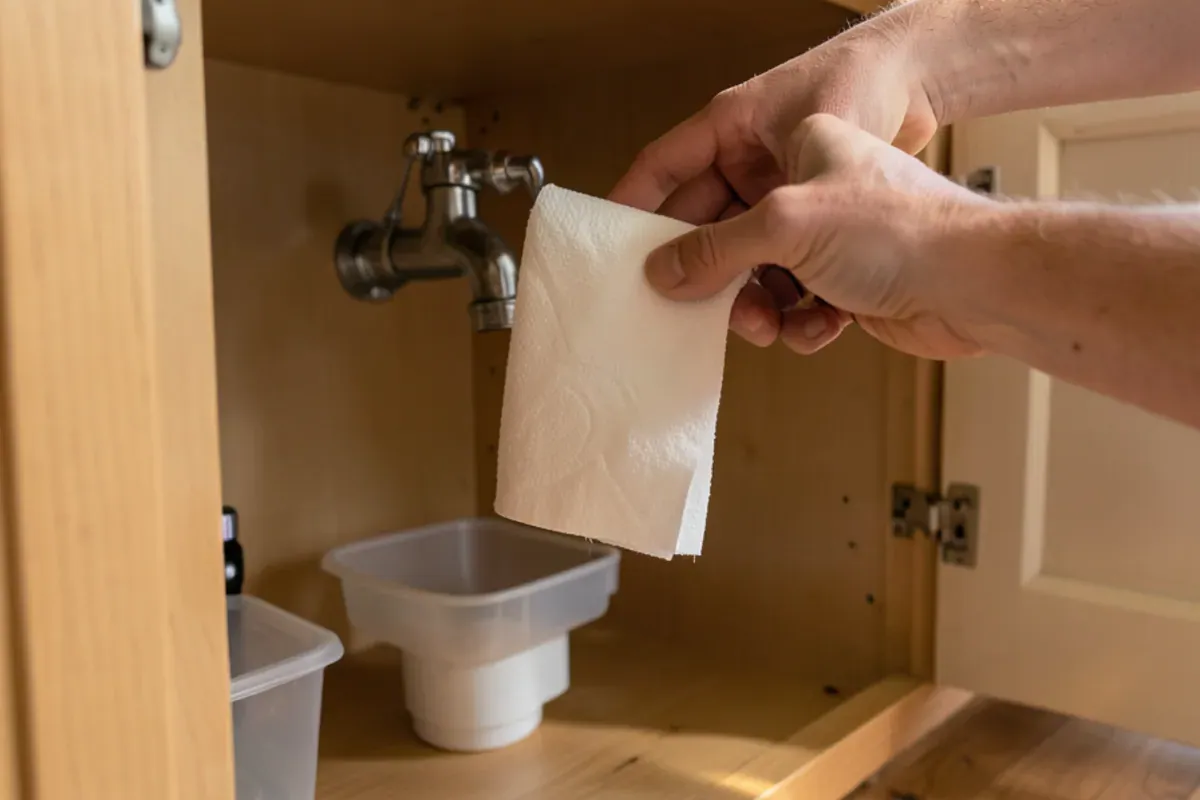
- Wipe a dry paper towel around each supply valve, compression nut and the trap joints, looking for any dampness.
- Press on the cabinet floor; softness or a raised seam means water has already reached it.
- Sniff. A musty smell inside a closed cabinet is often the first sign of a slow drip.
- Put a shallow tray or mat under the trap so any future drip is visible and contained.
Act fast on what you find. Per the EPA, mold rarely takes hold in wet materials that are dried out within a day or two, so a drip found this week is far easier to deal with than one found next season.
Building a vanity that shrugs off moisture
Prevention starts in the shop. We build vanities from solid hardwood and hardwood plywood rather than particleboard, which swells permanently once wet. Every face, including the backs and the inside of the sink cabinet, gets a sprayed topcoat so moisture cannot enter through an unfinished side. A floating design or a vanity raised on legs keeps the bottom away from mop water.
Seasonal homes need one more step. In Venice and the canal-side streets of South Venice, many owners leave for the summer, and a shut-up house with the air conditioning off becomes very humid very quickly. Leave the AC set to control humidity, shut off the water at the main, and prop vanity doors open slightly for airflow.
Before you leave for the season, empty the sink cabinet of anything that holds moisture, such as damp sponges, towels and cardboard packs, and leave a dry tray under the trap so a returning owner or house checker can see at a glance whether anything dripped while the house was closed.
If a vanity is past saving or you are planning a refresh, our bathroom remodeling work starts with a vanity built for exactly these conditions.
The bottom line
A dry vanity is the product of a few habits: a fan that moves enough air and runs every time, caulk and seals kept tight, and a monthly look under the sink. Put those in place and solid wood handles a Gulf Coast bathroom without complaint. If your vanity is already showing water damage, or you are planning a new one, contact the shop by phone or the website form to arrange a look.
Sources
- Home Ventilating Institute — Bathroom Exhaust Fans: A Consumer Guide
- Florida Building Code, Residential, 8th Edition (2023) — Section R303.3 Bathrooms (UpCodes)
- Florida Building Code, Residential, 8th Edition (2023) — Sections M1501.1 and M1507.4, Table M1507.4 (UpCodes)
- U.S. EPA — A Brief Guide to Mold, Moisture and Your Home