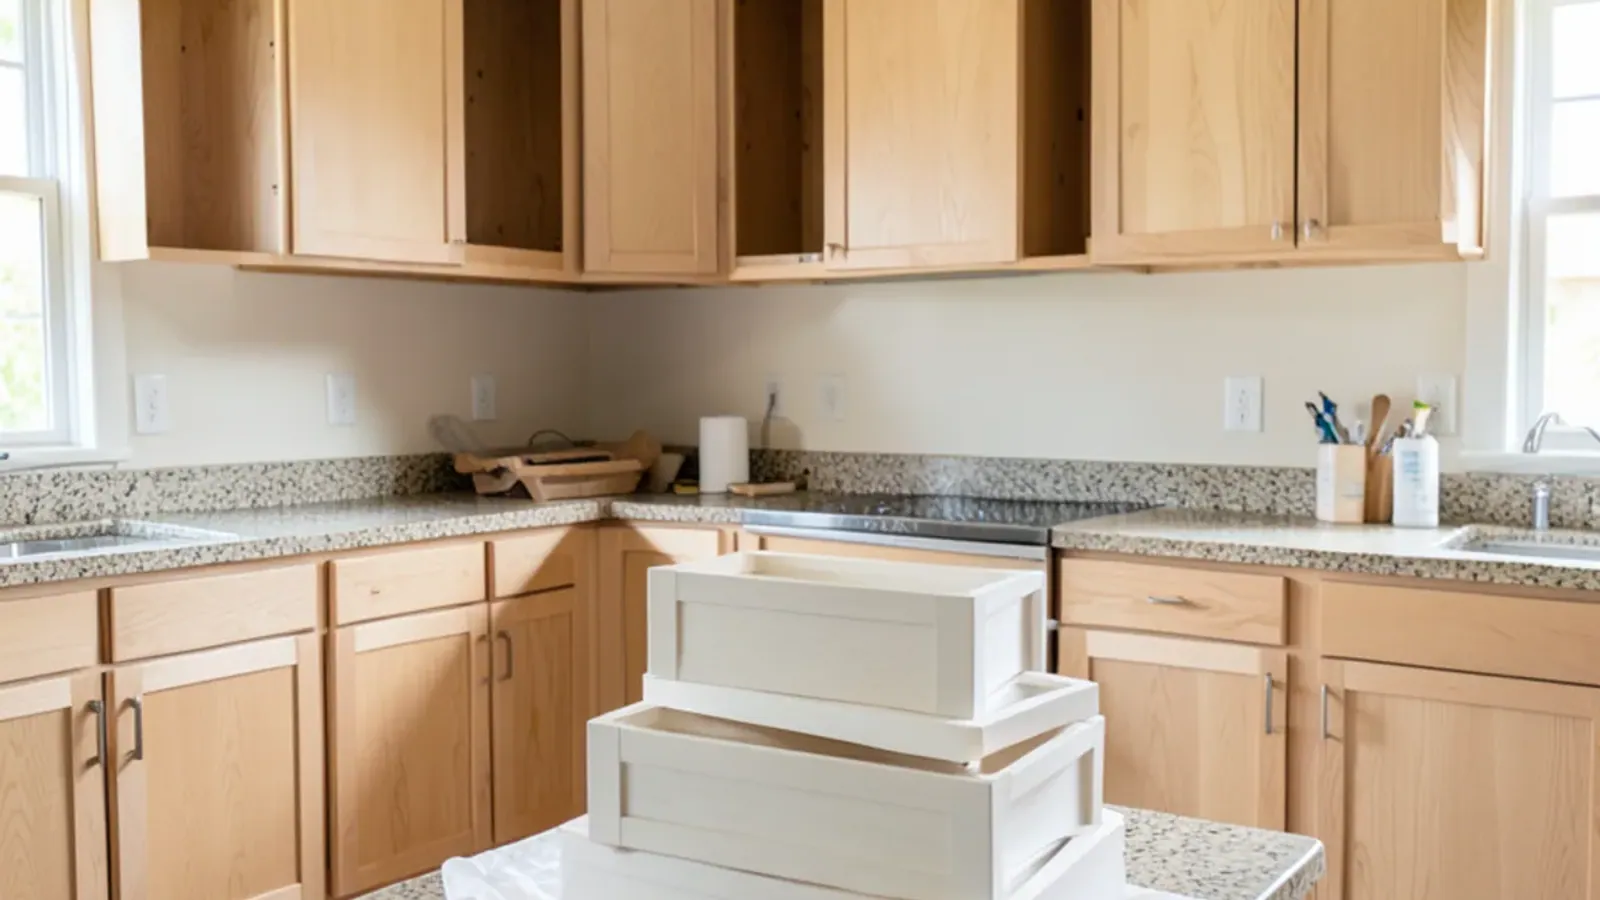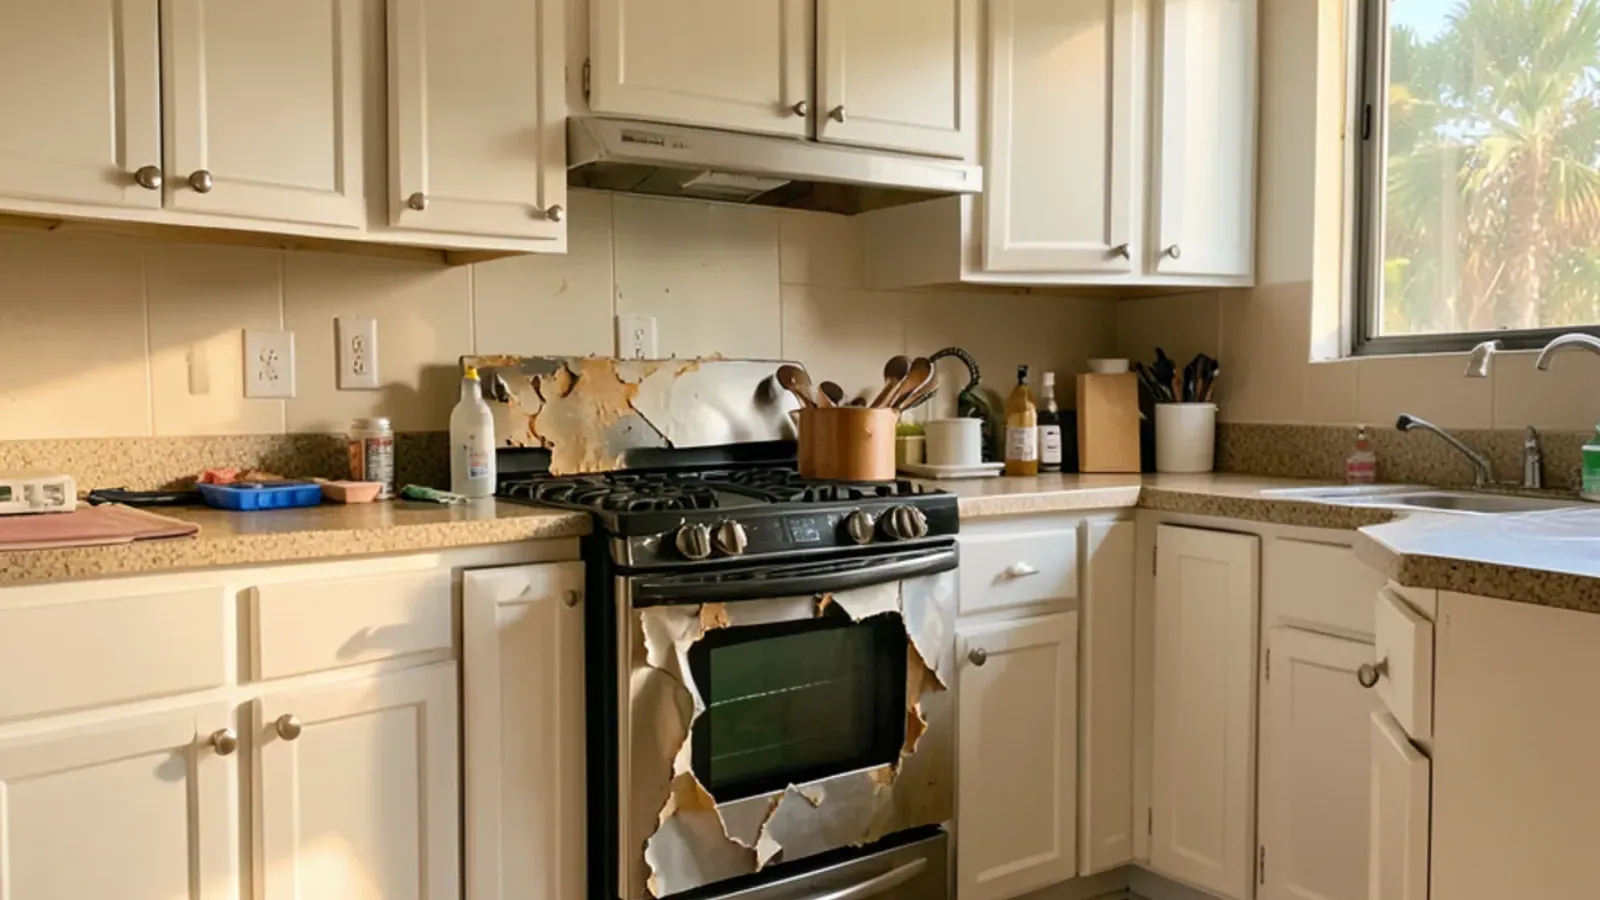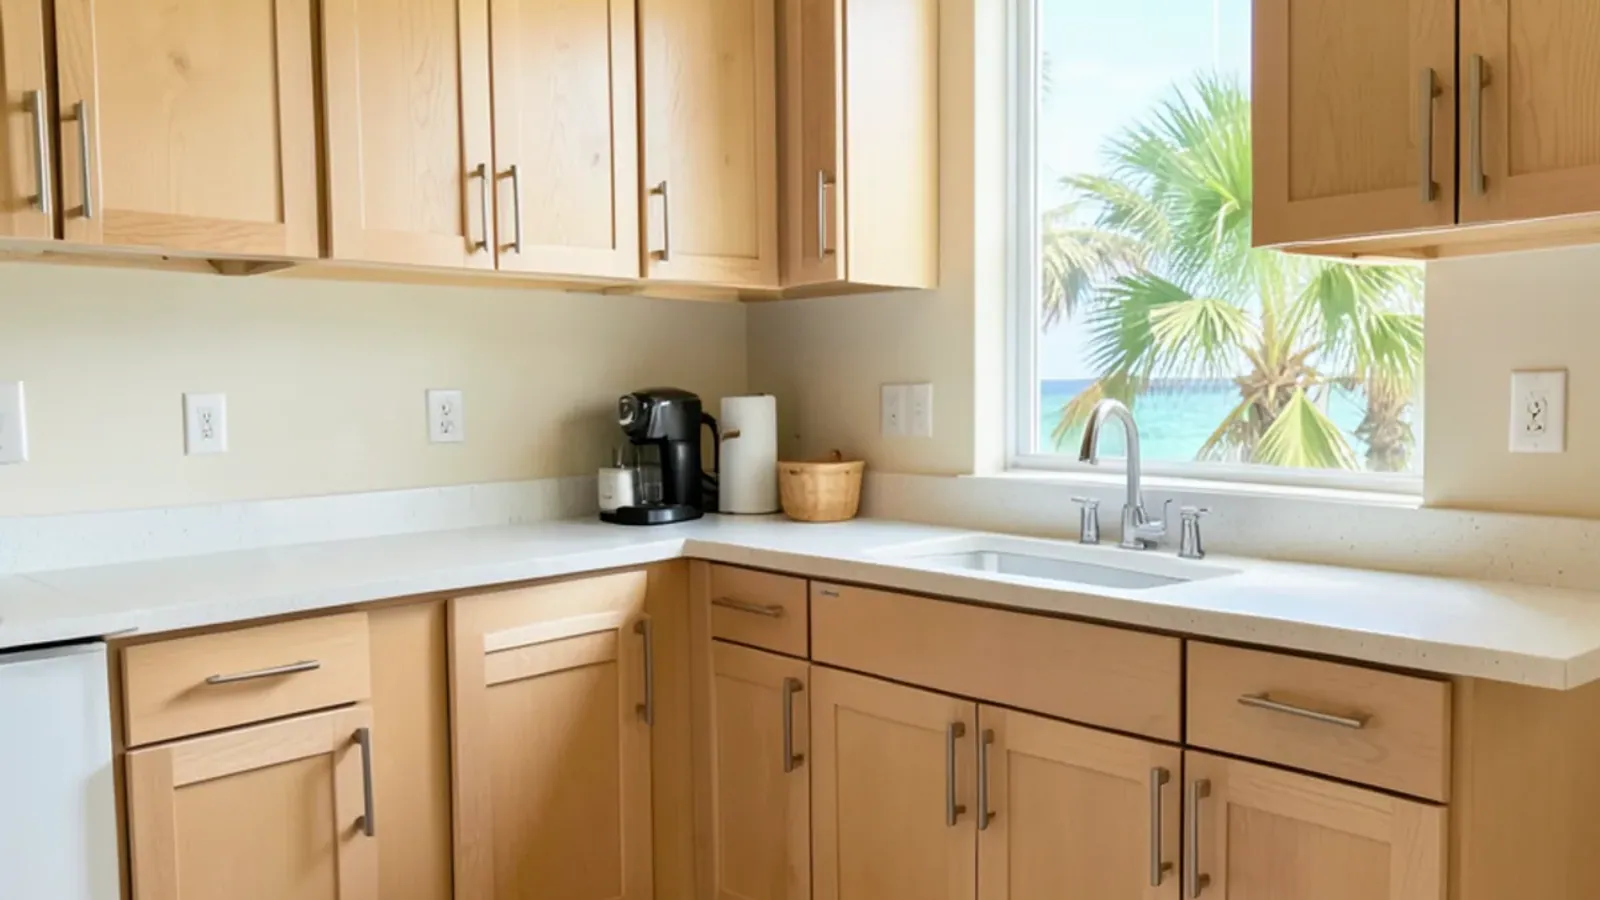
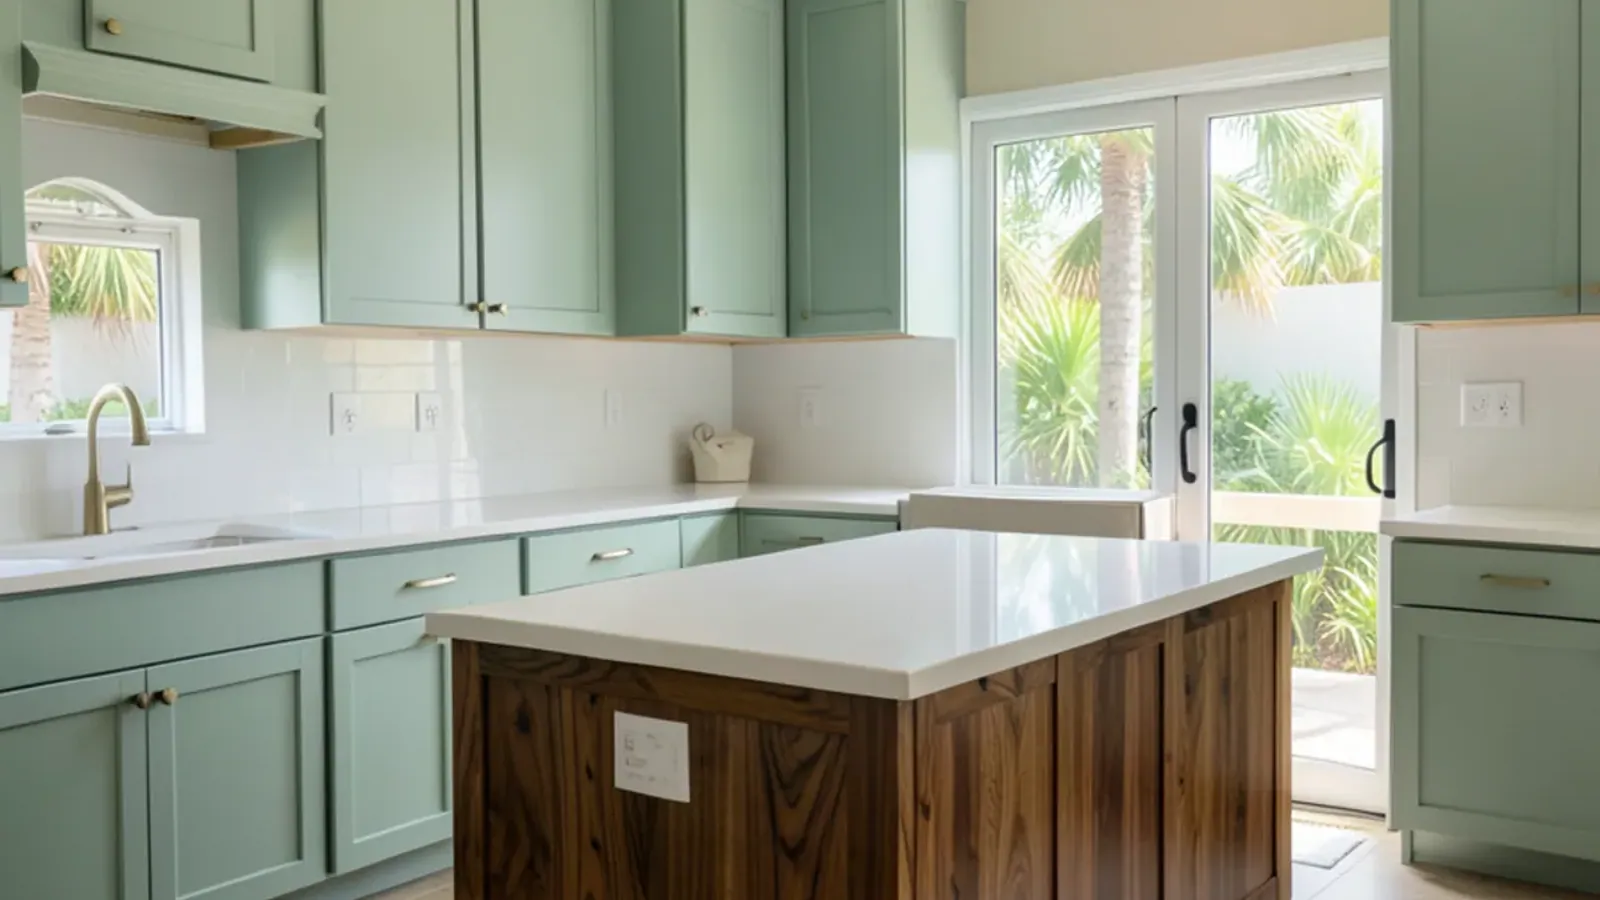
The choice in painting vs refinishing cabinets comes down to whether you want to see the wood. Painting covers the grain with a solid color and suits kitchens where the species or past repairs look patchy; refinishing removes the tired finish and lays down a fresh stain and clear coat so the wood itself becomes the look.
Both work on sound solid-wood cabinets, and neither suits thermofoil. Durability is closer than people expect when the prep and coatings are right. The bigger differences show up in how each finish ages, how it takes a knock, and how easy it is to repair. We do both in our shop and on site, so this is a straight comparison rather than a pitch for one side.
What really separates paint from a refinish?
A painted cabinet carries a layer of primer and two or more coats of pigmented finish. The goal is a uniform surface, so grain, color variation and old patches disappear. A refinished cabinet goes the other way: the old coating is stripped or sanded back, stain evens or changes the color while letting the grain read through, and a clear topcoat protects it.
That difference drives everything downstream. Paint forgives an uneven wood but shows every chip as a contrasting spot. A clear finish shows the wood, flaws included, but small dings tend to blend into the grain.
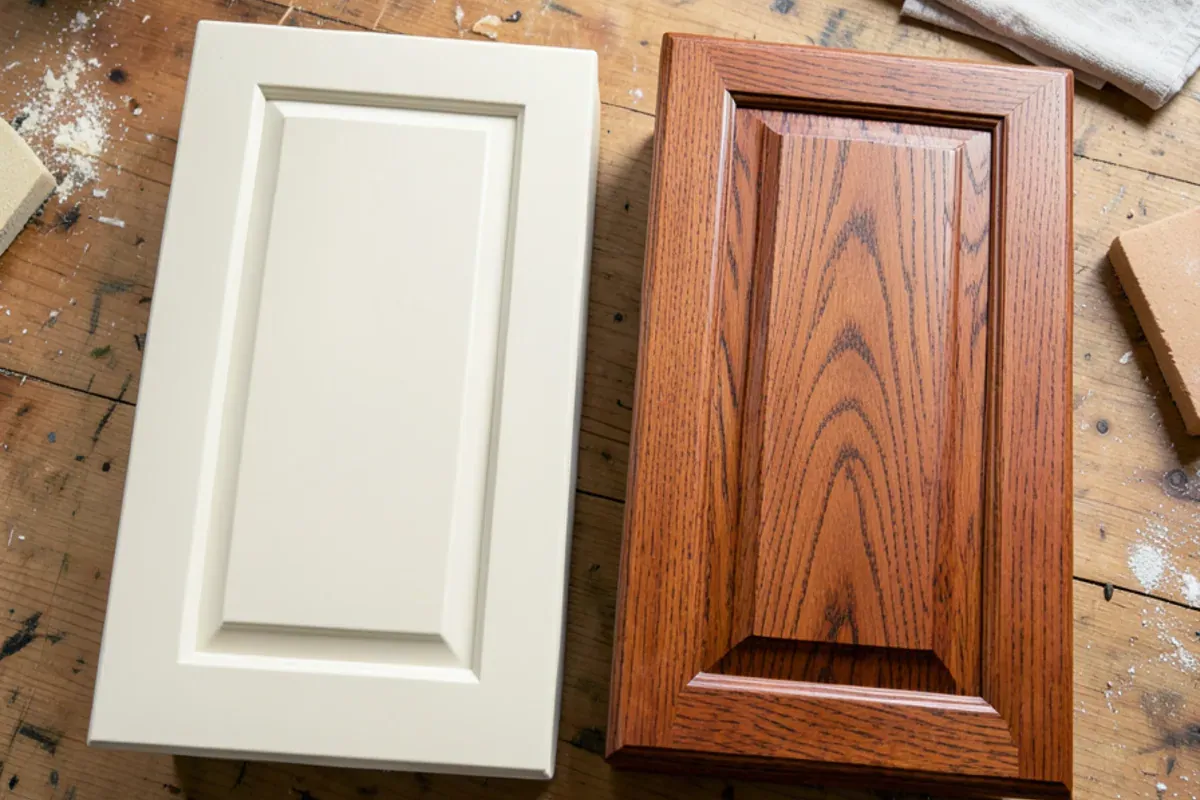
Painting vs refinishing cabinets, compared point by point
| Factor | Painting | Refinishing |
|---|---|---|
| Final look | Solid color, grain hidden or softened | Wood grain visible, stained or natural |
| Prep | Degrease, sand, fill grain if wanted, prime | Strip or sand back to bare wood in worn areas |
| Color freedom | Any color, including two-tone | Limited by the wood; lighter changes are harder |
| How wear shows | Chips stand out at edges | Scratches blend into the grain |
| Touch-up | Batch-matched paint fills small chips | Needs color matching and a clear blend |
| Can you switch later? | Going back to stain means full stripping | Painting over later is straightforward |
| What raises the price | Grain filling, extra coats, two-tone | Heavy stripping, big color changes, damaged veneer |
One row deserves emphasis: reversibility. Refinishing keeps your options open, because a clear-coated cabinet can always be painted in a later decade. Paint soaked into open grain is slow and messy to remove, so choosing it is a longer commitment. Our cabinet painting and cabinet refinishing pages explain each process in more detail.
Which cabinets are better candidates for paint?
Species and condition point the way more than fashion does. Here is how common Florida kitchen woods tend to fall:
- Red oak. Paints well, but its open pores telegraph through as fine lines unless the grain is filled first. Refinishing in a lighter, modern stain is the other good route.
- Maple. Tight grain takes paint smoothly. It can blotch when stained dark, so a stain change on maple needs testing.
- Cherry. Usually worth refinishing; its color deepens with light, and paint hides the reason it was chosen.
- Hickory. Wild color variation suits a natural refinish; paint will calm it if you find it busy.
- Mismatched repairs. If past owners swapped a door or patched a frame in a different wood, paint unifies the room where stain cannot.
- Thermofoil or laminate. Neither option bonds reliably. New wood fronts are the fix.
When doors are cracked or the style itself is the problem, neither finish will solve it. That is the point to look at new fronts under our broader cabinet refacing work.
How is a painted cabinet finish built up?
A durable painted kitchen is mostly prep. The topcoat is the part you see, but adhesion depends on everything that happens before it, which is why two paint jobs in the same color can wear so differently.
Clean off the kitchen film
Doors, drawer fronts and frames are washed with a degreaser and rinsed. Paint over cooking residue lets go first around the pulls.
Scuff and repair
The old finish is sanded to a dull, even surface. Dents, loose joints and old hinge holes are filled and leveled.
Fill the grain if wanted
Open-pored woods such as red oak show their grain through paint. A grain filler gives a flat, furniture-smooth face; skipping it leaves a visible texture some owners prefer.
Prime for adhesion
A bonding primer suited to the old finish goes on next, then is sanded smooth so the topcoat has a uniform base.
Spray the topcoats
Two or more coats are sprayed, with light sanding between them, to build an even film without brush marks.
Let it cure before heavy use
Dry to the touch is not the same as cured. Fronts are handled gently and rehung once the coating has hardened enough to take hinges and daily knocks.
A refinish shares the first and last steps but swaps primer and color coats for stripping, stain and a clear topcoat. The degreasing step matters equally for both.
How does Florida humidity treat each finish?
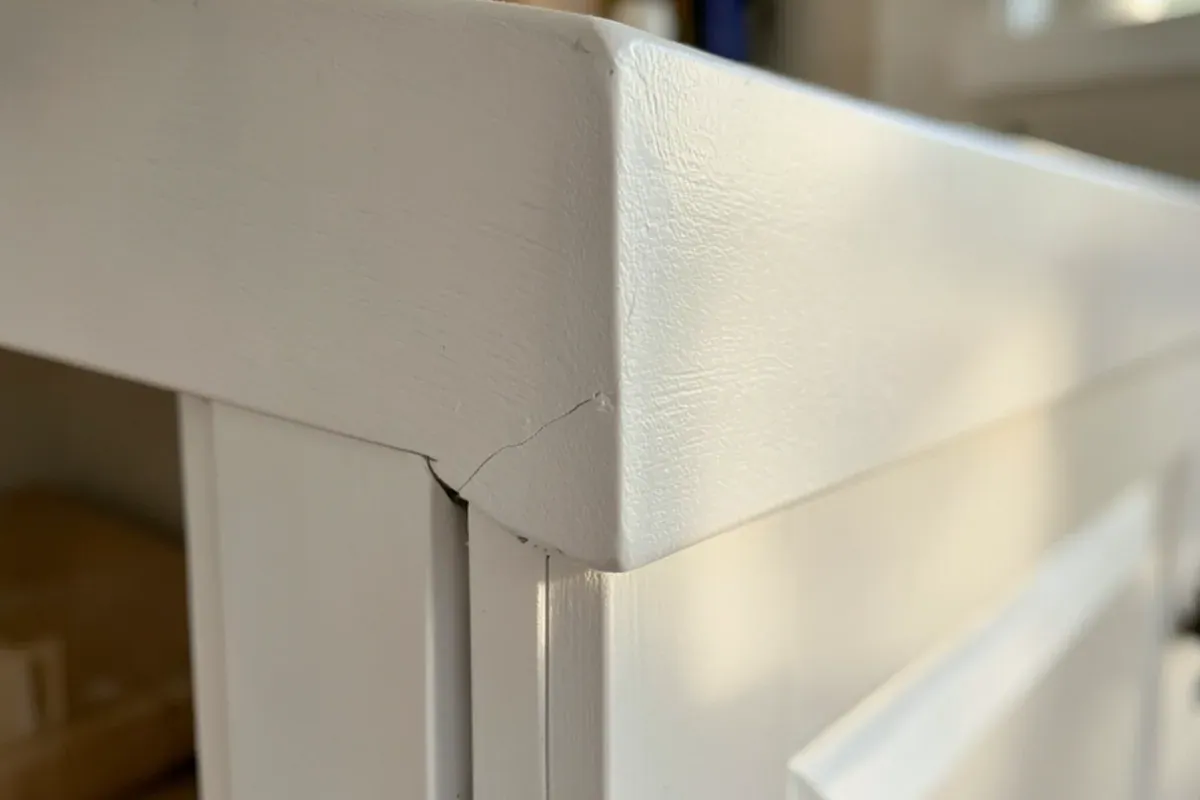
Moisture moves wood. Through a humid Gulf Coast summer, solid-wood panels swell slightly and shrink back when the air conditioning runs hard. On painted shaker doors, that seasonal movement can open a hairline at the joint where the panel meets the frame. It is cosmetic, but on a white door it shows. A stained door has the same movement, and the line simply disappears into the grain.
Sun is the other factor. Stains fade on cabinets near a bright slider, while some white paints drift toward ivory. In both cases a catalyzed or waterborne topcoat with UV resistance slows the change, and steady indoor humidity from the air conditioner reduces seasonal joint lines.
The size of that movement is well documented. The USDA Forest Products Laboratory's Wood Handbook tabulates how much moisture wood holds once it settles into the surrounding air, and the swing between a cooled house and a closed-up one is large:
| Indoor relative humidity | Moisture content of the wood | Against the EPA humidity guidance |
|---|---|---|
| 40% | 7.7% | Inside the ideal 30–50% band |
| 50% | 9.2% | Top of the ideal band |
| 60% | 11.0% | The upper limit the EPA recommends |
| 80% | 16.0% | Well above the limit, where mold becomes a risk |
A door panel that moves from 8 percent to 16 percent moisture swells across its width, then shrinks back when the air conditioning returns. Paint cannot stretch across that gap, so the line opens at the panel edge. The EPA's guidance to keep indoor humidity under 60 percent, ideally 30 to 50, is also the cheapest way to keep a painted shaker door looking crisp.
Prep, fumes and older homes off Bee Ridge and Clark Road
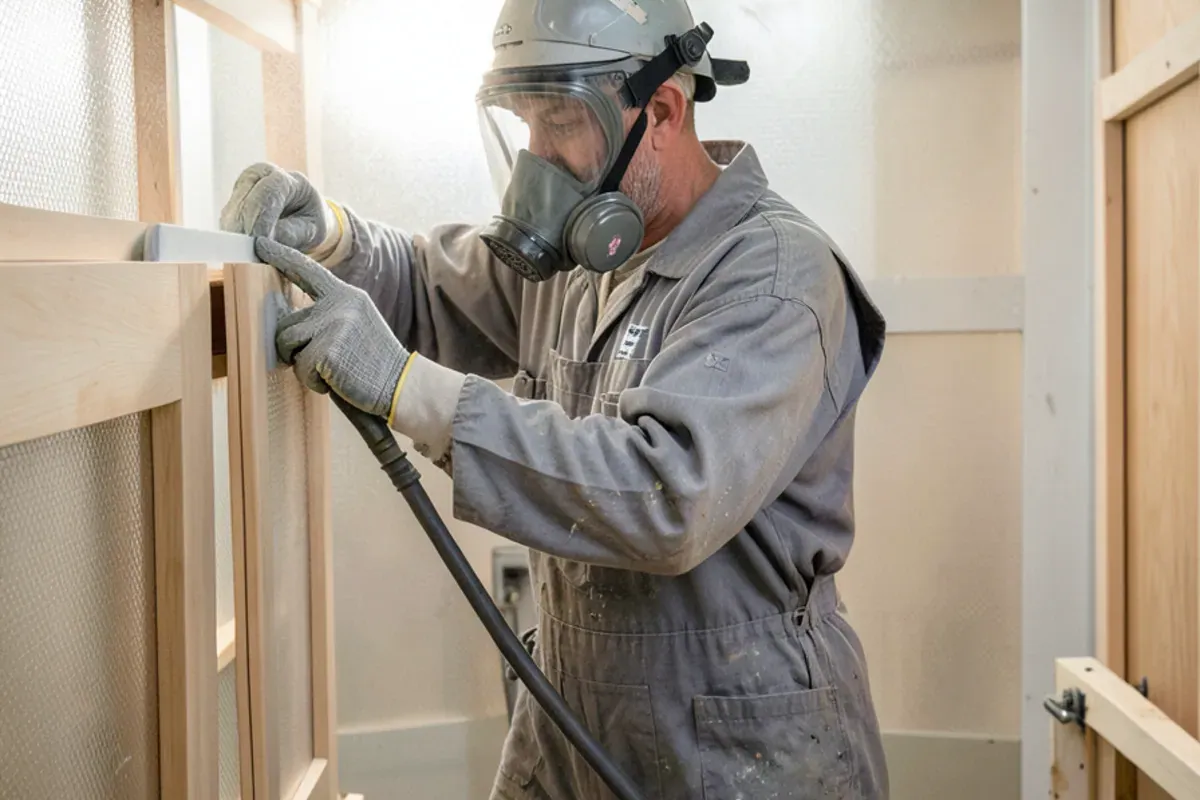
Either job generates sanding dust and solvent vapor. According to the EPA, paints and varnishes release volatile organic compounds indoors, and the agency's advice is to raise ventilation whenever such products are being used. We spray doors and drawer fronts in a ventilated booth at the shop and keep on-site work on frames masked and exhausted.
Neighborhoods such as Sarasota Springs, built largely in the 1960s through the 1980s, include some houses built before 1978, the cutoff in the EPA's lead renovation rule, so painted cabinets there should be tested for lead before anyone sands them. Villa and condo communities in Bee Ridge often ask for association notice before trades work on site, which shapes when frames can be done.
The bottom line
Paint is the right call when the wood beneath is uneven or you want a color wood cannot give; refinishing is right when the wood is worth seeing. If you are torn, a sample door finished both ways settles it quickly. Get in touch by phone or through the contact form and we can arrange to take a door from your kitchen and bring it back with a side-by-side sample.